
-

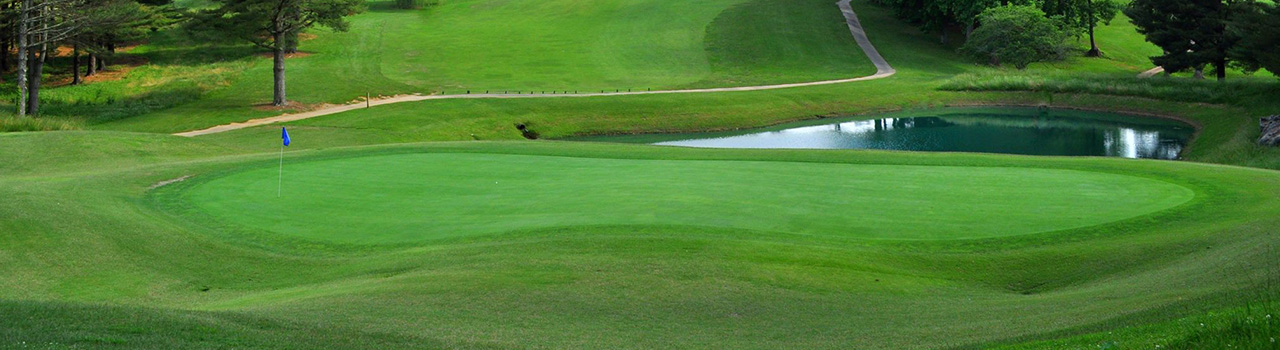
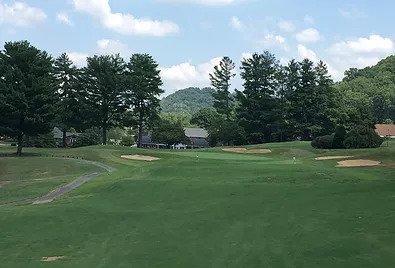
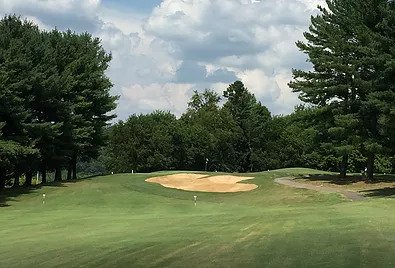
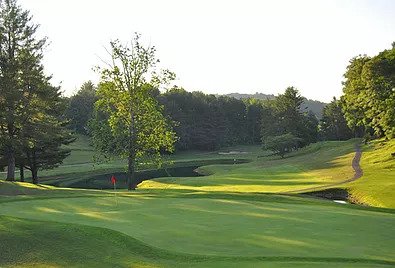
Hole #1
Our first hole offers a par 4 downhill, dog-leg left with woods to the left. Distance control is a must off the tee as woods join the end of the fairway. The uphill approach to this three tier green is shielded by a pond in front. -
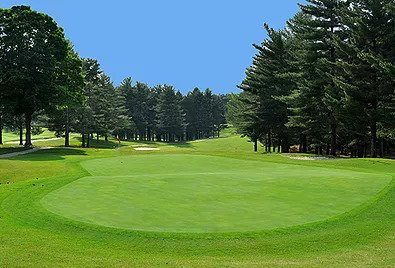
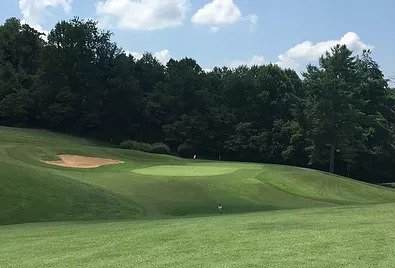
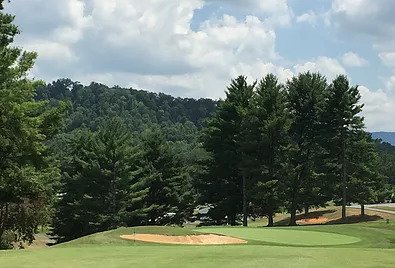
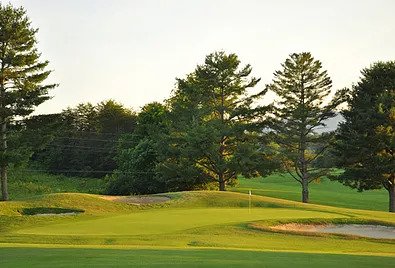
Hole #2
A short walk to the second will provide a view of a sweeping uphill dog-left left. This is our most difficult hole playing all of 402 yards to the multi level green. The left side is guarded by a beautiful patch of white pine which gives way to the green side bunker protecting this front sloping green. -
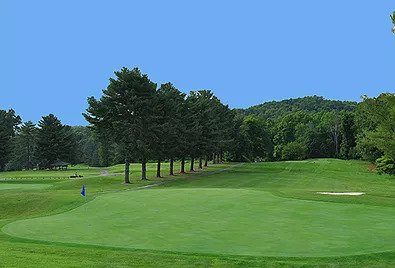
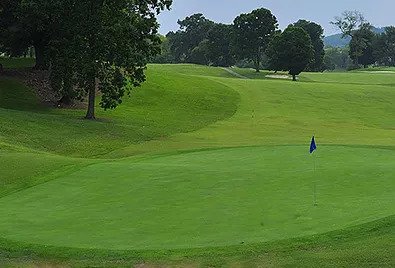
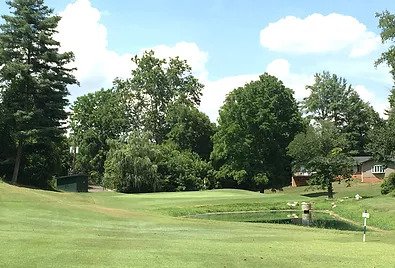
Hole #3
The third hole offers the first par 3 scoring opporunitiy on the Course. This sneaky uphill 182 yards requires a well placed tee shot below the hole. The green slopes back to front which can cause putting difficulties if above the pin. -
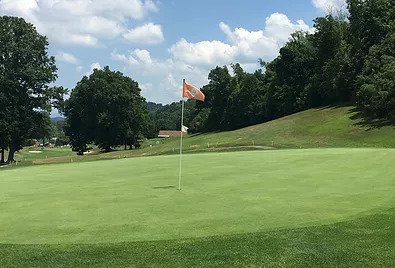
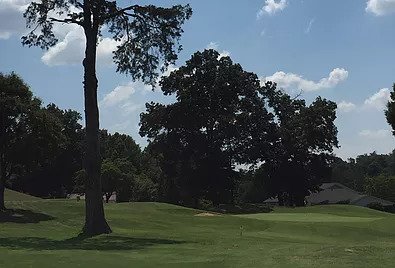
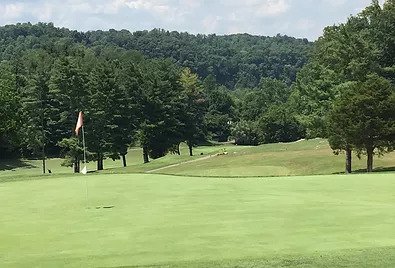
Hole #4
The 4th hole is a severely left to right sloping par 4. The preferred tee shot would be a lay up to the 100 yard marker leaving the approach shot to an elevated green. Ball position on the putting surface can play an important factor because of the split tier green. -
Hole #5
Our first par 5 provides an excellent birdie opportunity. The reachable 515 yard hole's wide fairway gives way to a large, inviting, softly rolling green. -
Hole #6
The next hole is a straight away par 5 with woods on either side of the fairway. Reachable in two for the long hitters, the apporach shot is to three tiered green, with two green side bunkers to the left, making ball placement important on the putting surface. -
Hole #7
Hole 7 is a medium length Par 4 at 394 yards. This dog-left right leaves the approach shot to a downhill green which presents a chance to make birdie. -

Hole #8
The 8th hole is a downhill par 3 playing harder than its handicap rating. The best place to miss this green is to the left, avoiding the right greenside bunker which runs the length of the green. -
Hole #9
The final hole on the front side is a 347 yard par 4. When on the tee, players must decide to lay up short of the cedar tree, or land the ball just past it in order to avoid a restricted approach shot. The left green side bunker and cresent shaped green with a bowl in the right center make an accuracte shot to the pin crucial. -

Hole #10
The backside starts off with the easiest handicap hole on the Course. A short Par 3 offers a birdie opportunity although the left green side bunker could come into play when missing the tee shot left. The two tiered green provides a putting challenge if the ball is not hit to the same level on the putting surface as the pin. -
Hole #11
This 523 yard par 5 plays much longer than the scorecard indicates as the tee shot is uphill. It is impotant not to miss the ball left off the tee here due to two bunkers in the rough and a road running parallel the entire length of the hole. The green is reachable in two for long hitters; however, players should be cautious of this front to back sloping putting surface and a hidden bunker behind the green. -
Hole #12
A short Par 4 at only 279 yards can be deceiving from the tee box. The right to left sloping fairway with woods to the left can cause trouble along with a sandtrap guarding the putting surface. The best tee ball is to lay up the the 100 yard marker and hit an approach shot in to this two tiered green. -
Hole #13
Hole 13 is a par 4 dog-leg to the left. Hitting a ball left off the tee can cause trouble as trees line the left rough. The second shot is downhill to an inviting green presenting a birdie opportunity. -
Hole #14
At 553 yards, the last par 5 on the Course is the longest. This hole will tempt long hitters in going for it in two. The only problem is carrying a large pond that sits directly in front of the green. Some players may elect to lay up on their second shot and then proceed to fly the pond landing their ball on the elongated green which still leaves an opportunity for birdie. -
Hole #15
This par 4 can be a difficult one due to the fact it is directly uphill. Although this hole is open with little trouble, the elevated green with a bowl in the front center makes an approach shot tricky. -
Hole #16
Another short Par 4, number 16 offers a great opportunity to score. Big hitters have a chance in reaching the green in one; however, laying the tee ball up to the 100 yard marker is a smart play. The approach shot is to an uphill green being cautious of the two bunkers in front and to the right. The putting surface is large smooth rolling, and relatively flat, with the exception of the right front, presenting a great opportunity to make birdie. -

Hole #17
The final Par 3 is 207 yards uphill to a two-tiered green. Although the only trouble is two bunkers on the right side, the elevation can be deceiving, and usually requires players to take one extra club. -
Hole #18
The final hole is a straight away par 4 to a large, open fairway giving golfers a chance to finish the day on a positive note. From the tee box players will hit uphill, avoiding the left fairway bunker, and a short approach shot should remain. When hitting to this downhill green, players should be cautious of surrounding bunkers but this relatively flat green presents an excellent opportunity to score well.